Fastfetch
Fastfetch
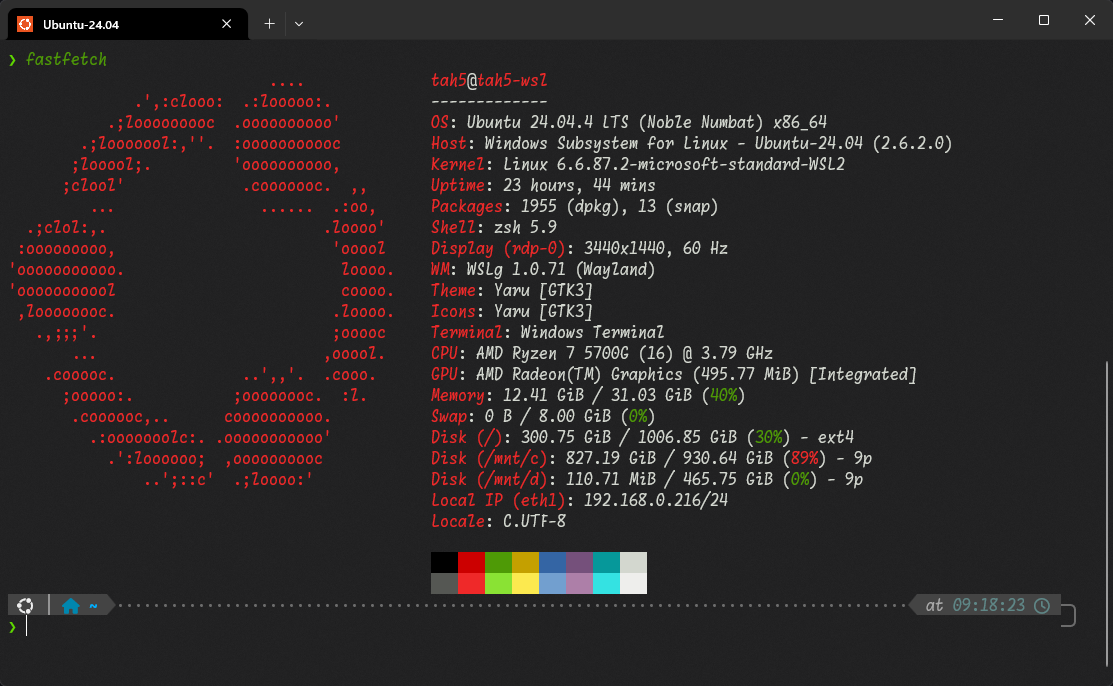
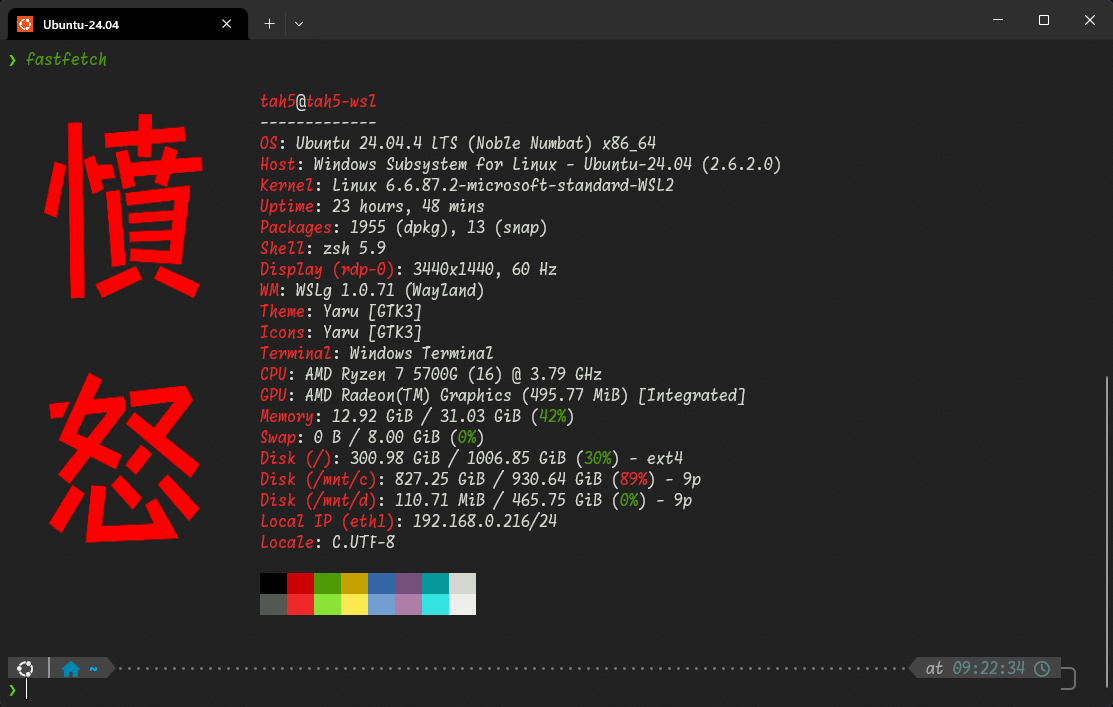
実行環境の詳細

- OS
- Ubuntu 24.04.4 LTS
- Platform
- WSL2
- Host
- Windows Subsystem for Linux - Ubuntu-24.04 (2.6.2.0)
- Kernel
- Linux 6.6.87.2-microsoft-standard-WSL2
- Shell
- zsh 5.9
- Terminal
- Windows Terminal
- CPU
- AMD Ryzen 7 5700G
- GPU
- AMD Radeon(TM) Graphics [Integrated]
- Memory
- 31.03 GiB
- Locale
- C.UTF-8
- fastfetch
- 2.62.1
インストール
curl -L -o /tmp/fastfetch.deb https://github.com/fastfetch-cli/fastfetch/releases/download/2.62.1/fastfetch-linux-amd64.deb
sudo apt install /tmp/fastfetch.deb
rm /tmp/fastfetch.deb
fastfetch --version
# fastfetch 2.62.1 (x86_64)実行
fastfetchWSL2 Ubuntu + Windows Terminalで実行すると以下のような出力になります。
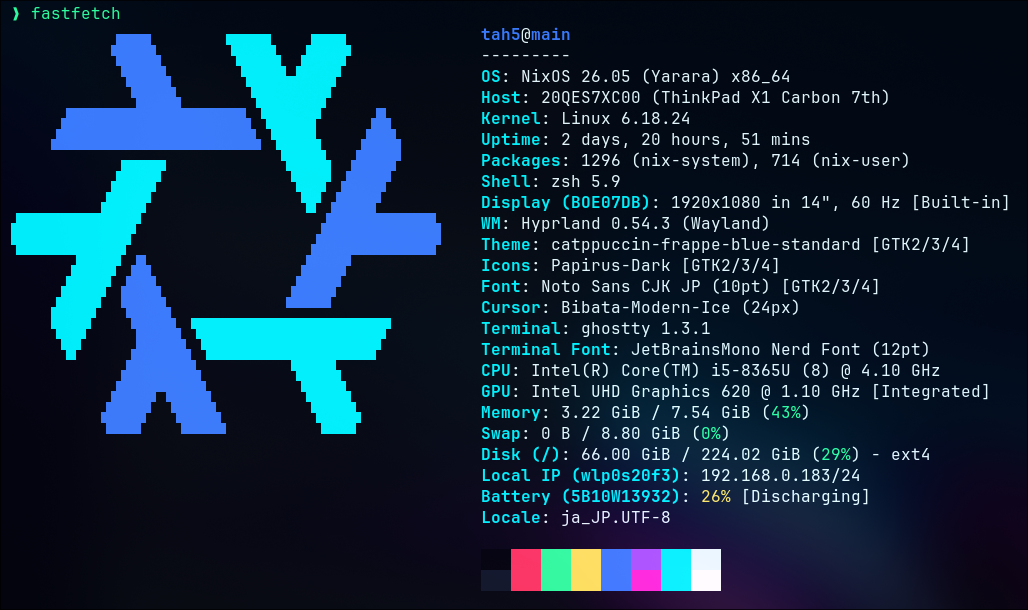
NixOS + Ghosttyで実行すると以下のような出力になります。
表示する項目を指定
fastfetch --structure title:separator:os:kernel
デフォルトで表示される項目を確認
fastfetch --print-structure表示できる項目を確認
fastfetch --list-modulesなお、ここにない項目でも、設定ファイルでコマンドを定義しておけばその結果を表示することが可能です。
{
"$schema": "https://github.com/fastfetch-cli/fastfetch/raw/master/doc/json_schema.json",
"modules": [
"os",
"separator",
{
"type": "command",
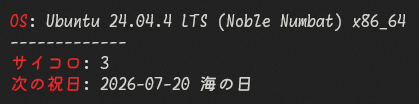
"key": "サイコロ",
"text": "bash -c 'echo $((RANDOM % 6 + 1))'"
},
{
"type": "command",
"key": "次の祝日",
"text": "curl -fsSL https://www8.cao.go.jp/chosei/shukujitsu/syukujitsu.csv | iconv -f SHIFT_JIS -t UTF-8 | python3 -c 'import sys,csv,datetime as d;today=d.date.today();print(next(f\"{x:%Y-%m-%d} {n}\" for s,n in list(csv.reader(sys.stdin))[1:] if (x:=d.datetime.strptime(s,\"%Y/%m/%d\").date())>today))'"
}
]
}
6月は祝日がない...
表示できるロゴを確認
fastfetch --list-logos
fastfetch --print-logos

fastfetch --logo "Windows 11"
プリセット
fastfetch --list-presets

# Public IPv4の取得には ipinfo.io が使用されているみたい
fastfetch --config examples/26.jsonc
fastfetch -c all個人的に好きなのは、fastfetch --config examples/14、fastfetch --config examples/26あたりです。ガチ勢はfastfetch --config examples/31あたりをさらに魔改造する感じでしょうか。
プリセットの設定ファイル(.jsonc)は、https://github.com/fastfetch-cli/fastfetch/tree/dev/presets、ローカルなら/usr/share/fastfetch/presetsで確認できるはずです。
設定ファイル
fastfetch --gen-config~/.config/fastfetch/config.jsoncが生成されます。
fastfetch --list-config-pathsで確認できるように、/etc/fastfetch/config.jsoncに設定ファイルを配置してもOKです。
プリセットの設定ファイルとその出力を比較して、設定ファイルを作り上げるのが効率的かと思います。
ロゴを作成
https://github.com/fastfetch-cli/fastfetch/wiki/Logo-options
ロゴを作成 例1
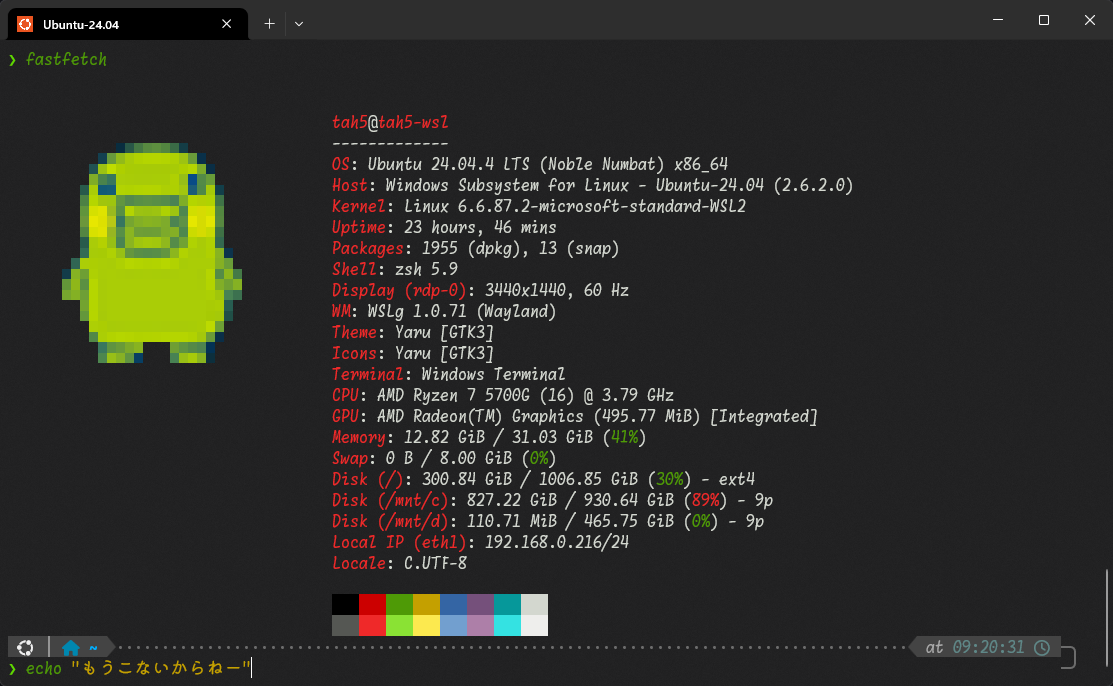
用意した画像をimgcatで表示します。#ロゴを作成 例2で使用しているchafa(https://github.com/hpjansson/chafa#installing)を使うと高画質で表示できます。
# https://github.com/danielgatis/imgcat#installation
sudo snap install imgcat

mkdir -p ~/.config/fastfetch/assets
imgcat XXX.png > ~/.config/fastfetch/assets/image.binロゴを作成 例2
文字を画像にして表示します。
font、labelは適宜置き換えてください。私の環境では、aptでインストールしたchafaはバージョンが古く背景を透明にできなかったので、バイナリをダウンロードしています。
# imagemagick
sudo apt install imagemagick

# chafa
curl -OL https://hpjansson.org/chafa/releases/static/chafa-1.18.2-1-x86_64-linux-gnu.tar.gz
tar xzf chafa-1.18.2-1-x86_64-linux-gnu.tar.gz
sudo mv chafa-1.18.2-1-x86_64-linux-gnu/chafa /usr/local/bin
rm -rf chafa-1.18.2-1-x86_64-linux-gnu*

mkdir -p ~/.config/fastfetch/assets

convert -background none \
  -fill "#f00" \
  -font "$HOME/.fonts/MoralerspaceHW_v2.0.0/MoralerspaceKryptonHW-Regular.ttf" \
  -pointsize 200 \
  -gravity center \
  -size 256x512 \
  label:"憤\n怒" \
  ~/.config/fastfetch/assets/logo.png
chafa -f sixels ~/.config/fastfetch/assets/logo.png > ~/.config/fastfetch/assets/logo.sixelアンインストール
削除
sudo apt purge fastfetch

rm -rf ~/.config/fastfetch/
rm -rf ~/fastfetch/
sudo rm -rf /etc/xdg/fastfetch/
sudo rm -rf /etc/fastfetch/